Dismantling a LG washing machine do it yourself
If you have any idea about device washing machines in general, nothing prevents you from trying to fix the fault on your own, so as not to overpay the extra money for repairs, which may well turn out to be trivial. But, strangely enough, the problem often arises at the very initial stage - when disassembling an unfamiliar device, made somewhere in China or Japan, by people who think a little differently. Although in fact everything can be just very simple. Let's see how to disassemble the LG washing machine with inverter motorproduced in South Korea.
Do not take up repairs if you do not understand anything in electrical engineering or if the warranty period for the device has not expired.
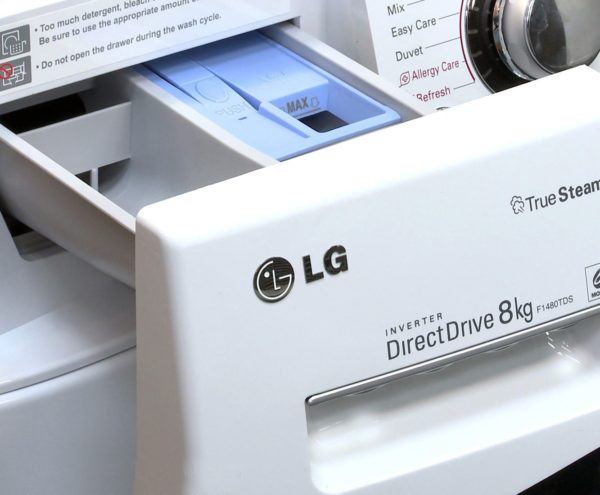
Instruments
It is worth noting that LG has taken great care of the maintainability of its equipment, although at first glance it may seem that only licensed specialists from the service center can do it.In fact, disassembling a whole line of latest models produced by LG doesn’t require practically anything except a pair of screwdrivers and pliers!
To get to the key components and parts of the LG washing machine, we need the very minimum of fixtures. But for greater convenience and just in case, it is a good idea to have the following tools on hand:
- pliers or curved round pliers;
- adjustable wrench;
- set of open-ended keys;
- hammer;
- knob under the end cap;
- nozzles on the knob from 8 to 18 mm;
- small flat screwdriver;
- crosshead screwdriver;
- awl.
Disassembly procedure
The first thing to start is capwhich is fastened with two screws on the back of the machine. We unscrew these screws with a cross-head screwdriver, release it from the gearing, move it towards ourselves, then lift it up and remove it.
After that, the opportunity remove the back wall machines for access to all internal parts of the rear, unless there is a specially provided service hatch for this (on all modern models it is).
Further disassembly of the LG washing machine involves removal of the control panel. To do this, first completely get the powder container from the socket, and then unscrew the two screws that are hidden under it.
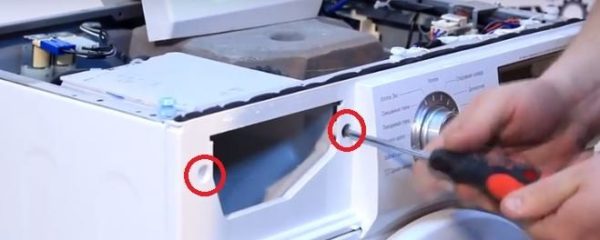
In addition to these, the control panel holds the plastic latches located above and below. You first need to snap off the upper screwdriver with a flat screwdriver, and then gently pull the panel towards you and up a little to release it from engagement with the lower latches.
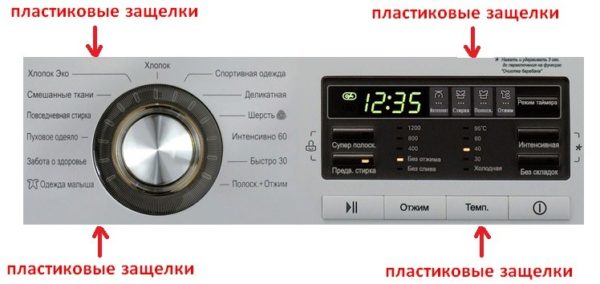
It is not necessary to completely remove the control panel and disconnect the wires from it. It is enough just to remove it to the side and fix it on the side wall with adhesive tape.
Our next step will be rubber cuff removal hatch, which in models of LG is attached to the body with a metal clamp with a spring. To remove it, you need to pry the spring with a screwdriver and pull it towards you until the clamp is removed from the cuff. After that, just shove the hatch gum deeper inside the drum and proceed to the removal of the remaining panels.
You should start with a small panel at the bottom where the trash filter hatch is located. Under it are the screws, unscrewing which, we can snap off the bottom panel entirely with a small flat screwdriver.
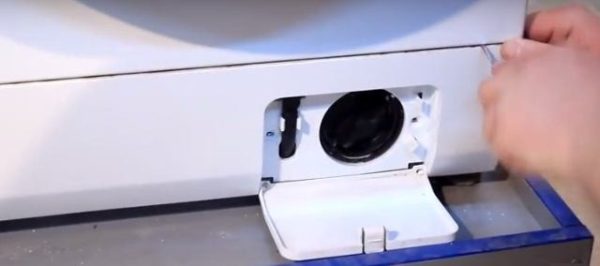
After that we get access to the lower anchorages of the large front wall,which also needs to be removed to access the internal nodes.
Before you remove the front panel, do not forget to disconnect from it the wire of the hatch locking device (UBL).
Now you can disassemble the insides of a washing machine. We remove the counterweights around the hatch and the compartment of the powder receptacle with nozzles and filling valves, which are fastened with conventional screws. Do not forget just before it to disconnect blocks with wires from valves.
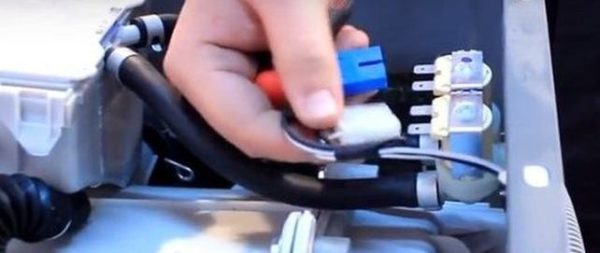
More tank with washing machine drum From above nothing holds, so go to the bottom. Using the tools we have, we disconnect:
- pressostat hose;
- motor wires;
- drain pipe;
- Teng wires;
- rack holding tank.
After that, the tank with the drum and the engine remains hanging on the same springs. To remove the inverter engine, you need to unscrew the six bolts under the cover, which holds a large central bolt. Twisting it while holding the drum with the other hand.
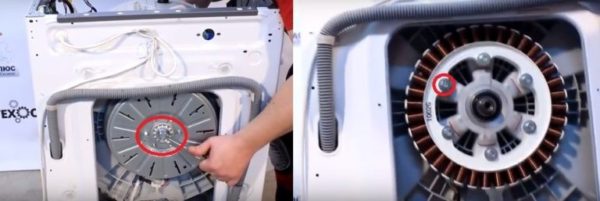
Now it remains only to dismantle the tank with the drum. Fortunately for us, tanks in cars "LV" fully collapsible, so it will not be difficult:
- We unscrew the screws, tightening the two halves of the tank.
- We remove to the side the fore forecastle.
- Rear forecastle pulls off the sleeve.
- Remove from the drum bearings and seals.

On this instruction how do-it-yourself washing machine LG, can be considered fully completed!
Conclusion
As you can see, there is nothing difficult in dismantling modern models. There are only minor differences in the method of fastening certain parts. Home appliances should be produced “for people”, and not for the benefit of companies that pursue other goals. Such firms simply do not respect their customers, and therefore their products do not deserve our attention.

/rating_off.png)


