Self disassembly washing machine Samsung
If a breakdown occurs, you need to know how to disassemble the Samsung washing machine with your own hands.Having a tool, the minimum knowledge in plumbing and electrical engineering to make repairs independently is quite capable of everyone.
Disassembly preparation
Disassemble washing machine not as difficult as it seems at first glance. First of all, you need exactly determine the nature of the breakdown. If this is not possible - disassembly is inevitable. First you need to prepare for the upcoming repair. To do this, perform a series of actions:
- de-energize our unit;
- drain all the water if it is left there;
- prepare the tool;
- determine the place where we will disassemble the machine.
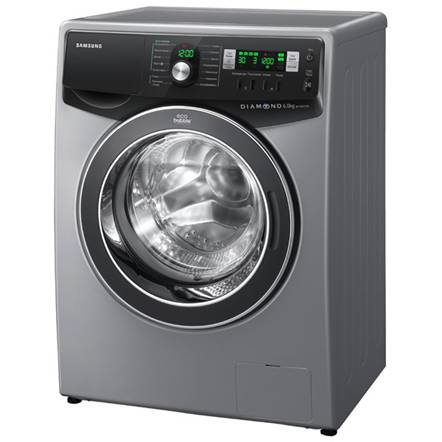
For repair you will need a spacious, well-lit place. Some parts and mechanisms are quite large in size and weight, so it will be simply impossible to disassemble the equipment in a cramped corner.
The most common tool for work is a set of screwdrivers, pliers, a hammer, a set of heads. Be sure to prepare a clean cloth, liquid WD-40 for soaking the nuts, grease and constant velocity joints and sealant. It is good to have a camera on hand, especially if the disassembly is carried out for the first time. By photographing each operation, it will be much easier for you to assemble the machine later. Starting to repair, it is advisable to watch a video on this subject.
The success of the work depends largely on the proper organization of the workplace.
When disassembling, you will need simple measuring tools - a ruler, a caliper. Be sure to prepare a soldering iron.
Disassembly process
Self-disassembly of a Samsung washing machine requires precision in all steps. First of all, remove the top cover of the machine. Twisting the two screws behind it will be quite enough. The photo shows the location of the screws.
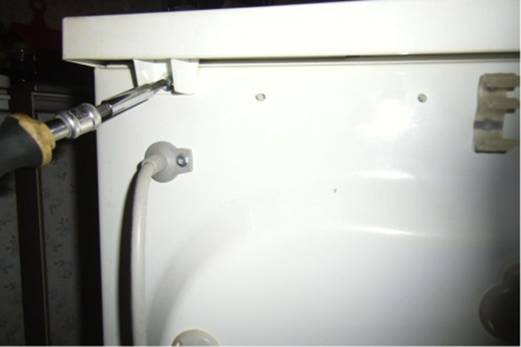
Further, the removed cover is set aside to the side so that it does not interfere with further work. Removing the lid, you will see almost all of the inside of the machine. To inspect the pulley and drive belt, you need to slightly pull the counterweight towards yourself.
The next stage of disassembly is the removal of the container for laundry detergents. To do this, just squeeze his latch. After this, a more difficult and crucial stage of disassembly begins - the removal of the sealing cuff. Using a screwdriver, pull out the locking ring and carefully remove it from the cuff. The main thing here is to do everything slowly. It is very easy to break the cuff, and this is already an extra expense. Now we fill it inside the car so that it does not interfere.
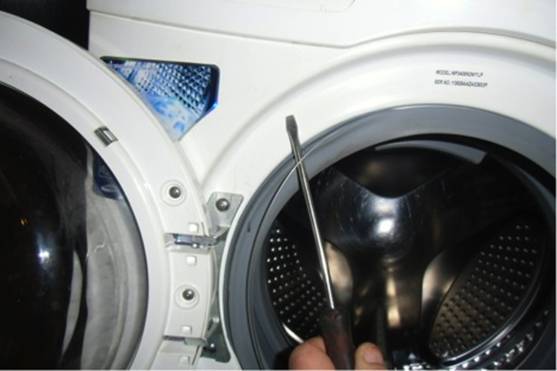
Next you need to remove the bottom cover from the case. It is fastened with snaps, and the detachment of its great difficulty is not. Removing the cover plate provides access to the emergency drain hose and filter. On this bottom of the Samsung machine can be considered disassembled.
It remains to remove the electronic control unit. There will also be no great difficulties. By unscrewing the mounting screws and unfastening the latches, you can carefully separate the unit from the case. So that it does not interfere with further work, put it on the top of the machine. Now got access to the removal of the front panel. Unscrewing the seven mounting screws, separate the front panel.
After performing these works, you can begin to remove the tank and drum machine.The process of removing the tank is very time consuming, so it is not recommended to carry it out alone. Be sure to need an assistant. Before starting to remove the tank, it is necessary to disconnect the electrical wiring from the heating element (heating element), as well as the piping suitable to it. Then disconnect the wires from the engine.
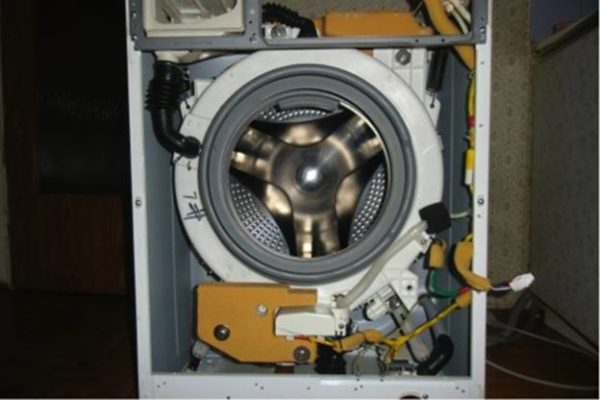
After performing these preparatory work, you can begin to remove the tank. To do this, first of all, you need to remove the counterweights. They are bolted. After removing the counterweights and removing them to the side, we begin to disconnect the tank from the shock absorbers. At the end of the process, we disconnect the springs that are attached directly to the tank, and together with the assistant we extract the tank. It remains to disconnect the engine from it. Before you do this, you need to remove the drive belt. If it became necessary to change the bearing, viewing the thematic video is required.
Replacing the bearing is one of the most difficult types of repair. Before proceeding with its independent implementation, you must carefully weigh your strength as a repairman. The whole difficulty lies in the fact that the washing machine tank can be nonseparable. To access the bearing it will have to be cut, and then glued together, pre-sealed. If the tank is collapsible, the repair is noticeably easier. It is enough to unscrew the coupling bolts or release the latches securing the tank halves. After the tank is disconnected, the drum becomes accessible, on the shaft of which the bearing is located. It is removed by a special puller, or very carefully knocked off with a hammer.
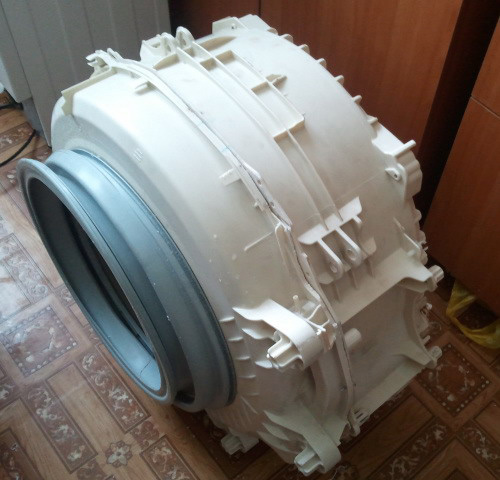
After removing the bearing, be sure to clean the seat on the shaft, carefully inspect it and check for wear. If no deviations are found, you can replace the bearing.
When disassembling a machine, it is necessary to fix the sequence of operations, and it is better to entrust the work of replacing the bearing to specialists.
Disassemble washing machine Samsung do it yourself is not so difficult. To do this, you need tools and a minimum knowledge in electrical engineering and plumbing. Well, of course, experience in repair work.

/rating_off.png)


