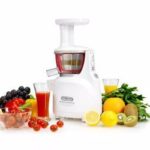
We disassemble the juicer themselves
Most of the faults of this type of kitchen appliances, one way or another, is associated with an electric motor or moving parts, such as gears, clutches. If you didn’t do anything with the juicer that could have guaranteed failure (dropped, for example), then it’s quite possible that repair the damage yourself. But for this you will have to first carefully examine the device from all sides in order to understand how you can disassemble, and most importantly, how to assemble the juicer back.
Content
Typical faults
Common crashes:
- Worn plastic gears.
- Heavy pollution.
- Blown fuse (if any).
- Failure of elements of the control circuit.
- Corrosion or contact closure.
- Worn engine parts.
If the juicer has been in use for many years and the warranty has long expired, then it is possible that it just served its time, calculated by its manufacturer (not from scratch). However, if the overseas juicer, then its manufacturer may not even have imagined that someone would begin to disassemble its creation independently and try to repair it after so many years of service!
But if the juicer was not physically damaged immediately before the breakdown, but just suddenly stopped working, then this may mean that over time it could become very dirty, some contacts from moisture were oxidized, the wires might have burned somewhere or something closed. Anything could have happened, but the main thing was that nothing serious had happened to it, which means we can count on a successful repair. After all, the fact of a long, uninterrupted operation speaks about the reliability of the juicer. If it were not reliable, it would break even during the warranty period.
Instruments
For disassembly different types of juicers often nothing is needed except screwdriver set of various types and sizes, since all its components are usually fastened with latches, clamps, screws (sometimes nuts are used).
And since we do not know the cause of the malfunction, we will not give here a list of possible tools and consumables that may be needed for repair - it may be too long. Just be ready for anything.
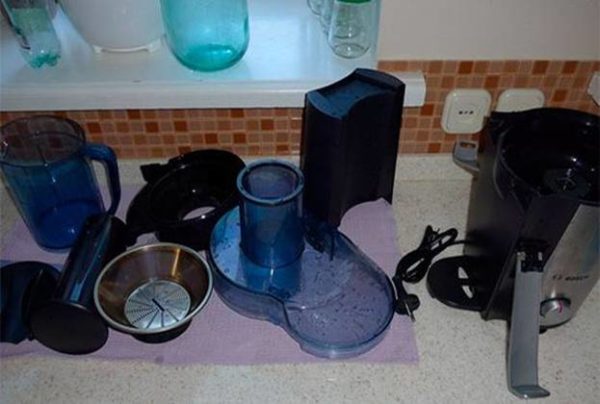
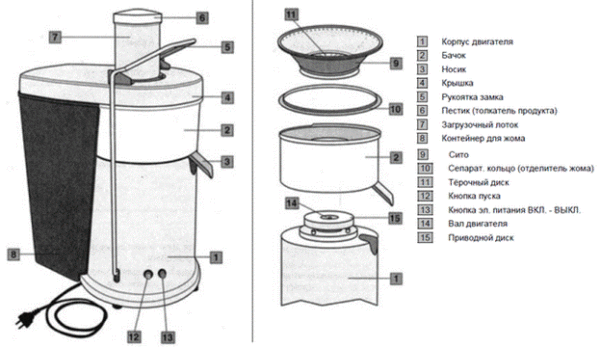
Components of any juicer
Device device includes:
- cover;
- plastic pusher;
- capacity for collecting squeezed juice;
- steel or plastic strainer;
- strainer insert;
- capacity for collecting waste (oilcake);
- motor unit.
Disassembly procedure: step by step instructions
Begin to disassemble the juicer need from the top, elements of which are either simply tightly inserted into each other or held together by means of latches. That is, you need to disconnect from the juicer everything that can be removed without the help of tools, and will also hinder us in further disassembling the motor unit.
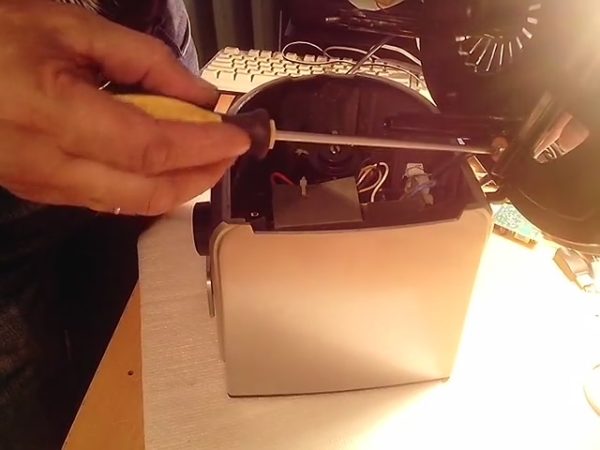
To get to the engine mounts, and then remove it, turn the juicer upside down and unscrew the bottom screws (usually there are 4 pieces) with a screwdriver. Then remove it and unscrew the screws securing the pads from the back so that you can completely clear the bottom and put it aside.
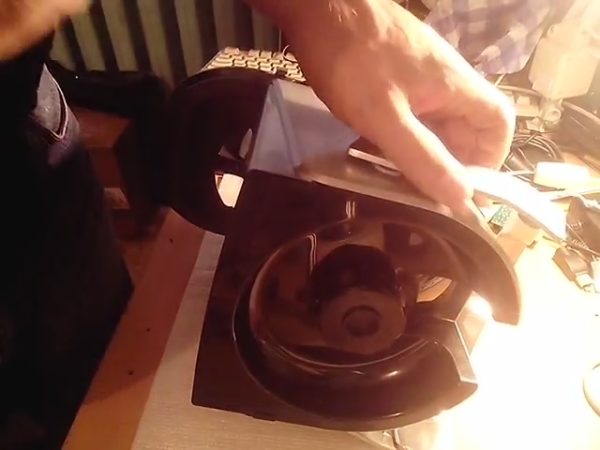
Now remove the drive plate from the motor shaft, keeping the shaft from turning from the reverse side (if the disc is fixed with a screw or nut). Or push it up if it is just tightly mounted on the shaft without additional fastenings.
Remove the motor unit housing by unscrewing all the existing mounting screws from it, unplug all knobs with switches that interfere with removal of the knobs and free the wires.
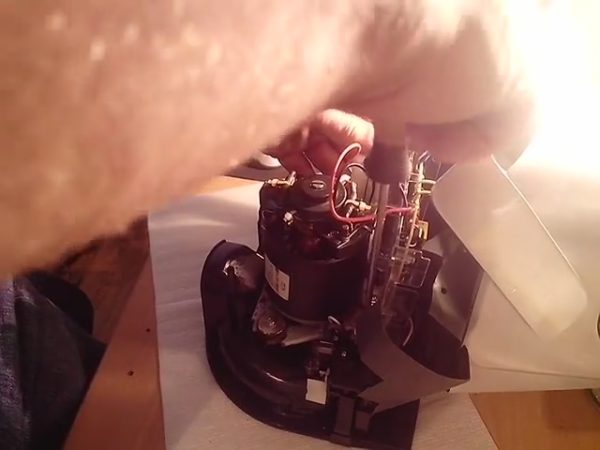
Unscrew the screws securing the motor control board and set it aside.
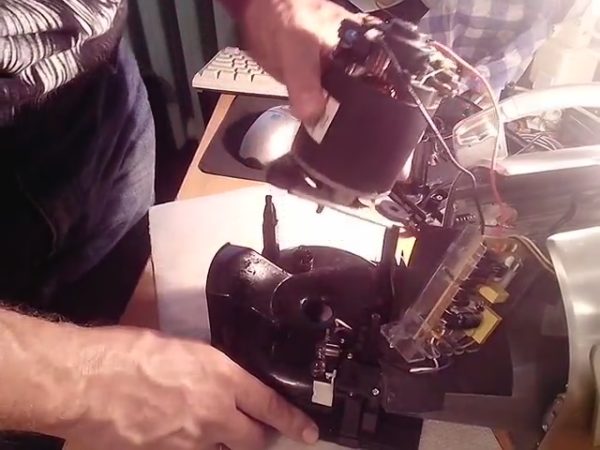
After that, nothing prevents us from unscrewing the screws that secure the motor itself, of which there are usually 3-4 pieces, and then remove it.
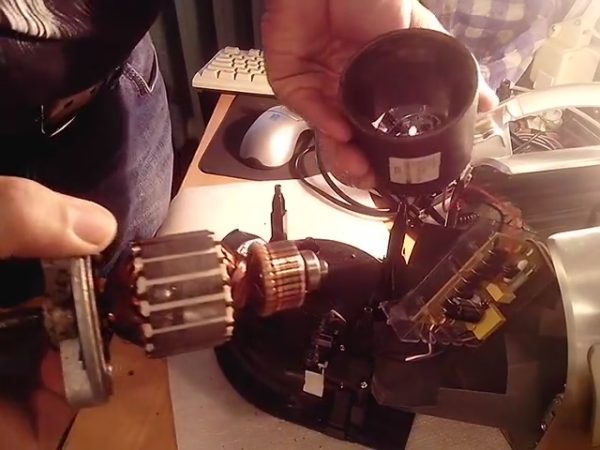
To get and inspect the rotor, unscrew all the screws on the motor housing and disconnect the brushes with wires. Remove the rotor and inspect it for visible damage. Check the condition of the bearings by twisting it several times with your fingers. If the bearings are OK, the rotor should be rotated for a long time, and not stop immediately.
Inspect and check for serviceability all that you can. Clean the surfaces of dirt and dust with non-aggressive solutions, “ring” all wires, electric motor winding and control board elements with an electrical tester.
Solder, clean and replace everything that needs replacing. In general, do everything possible to find and correct possible malfunctions so that the disassembly of the engine block is not in vain.
Conclusion
The device of fastening parts of the motor unit in the juicers of different manufacturers is always different, so the order of their disassembly may be slightly different. You may even need additional tools for this (pliers, wrenches, tweezers, nippers and others), but the general principles of construction are the same for all.
Knowing the internal structure of the device, you can easily assemble your own juicer.

/rating_off.png)


