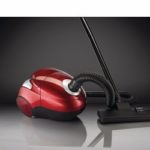
Small and large repair of the vacuum cleaner with their own hands
It is quite logical to be able to do not only repair the vacuum cleaner with your own hands, but also other electrical items of modern technology, since almost all household appliances (be it a refrigerator, an iron, an electric kettle or a vacuum cleaner including) periodically break. The vacuum cleaner rightly deserves the greatest distribution among household appliances in every home. It saves much of the time spent cleaning the premises and helps keep the house clean and tidy.
Failures are usually associated with the wear of individual components and parts of the mechanism. But a broken vacuum cleaner does not always require the purchase of a new one, you can just a little thought logically fix such a household appliance with your own hands. If you are not confident in your abilities, then, of course, you should not proceed to self-repair, because You can “break down” the device so that later it will be much more difficult for a specialist to bring it into working condition.
Content
Common causes of vacuum cleaner breakdowns
As the diagnostics of malfunctions of the Samsung vacuum cleaner shows, the most common causes affecting the operation of the device are:
- Low air intake.
- Not going to small litter.
- Not very pleasant smell during operation of the vacuum cleaner.
- Engine speed is not regulated.
- Vacuum cleaner does not turn on.
- Problems with the work of the cord.
- Heavy buzz and vibrating the unit.
- Smoke, fire, short circuit.
- The appliance functions intermittently and is observed sparking collector.
By specific signs and distinctive features of the device operation, you can recognize the problem of breakage and try to repair the Samsung vacuum cleaner with your own hands.
In most cases, engine breakdowns directly affect suction power of air. As well as evidence that the vacuum cleaner's motor has failed, there is excessive humming and the appearance of a dusty cloud during operation of the appliance.
If the power of suction of garbage is insufficient or absent altogether, then this indicates that the hose has failed or its integrity has been broken (breakdown in the corrugation). A drop in the air intake rate can also be affected by damage to the bearings of the motor of the vacuum cleaner and the host brush. Confirmation of the failure of these devices directly is the periodic resumption of activities in the normal mode.
In the case when the vacuum cleaner does not turn on, it is recommended to check the voltage in the electrical network and the health of the power cord. In an optimistic scenario, when an electrical circuit broke and the contacts broke, or the power cord plug burned - repair of a Samsung vacuum cleaner or LG is possible, and at worst, when the stator circuit of the vacuum cleaner's motor caused its breakdown - the electric motor should be recycled.
Instructions for disassembling and replacing the engine of a vacuum cleaner
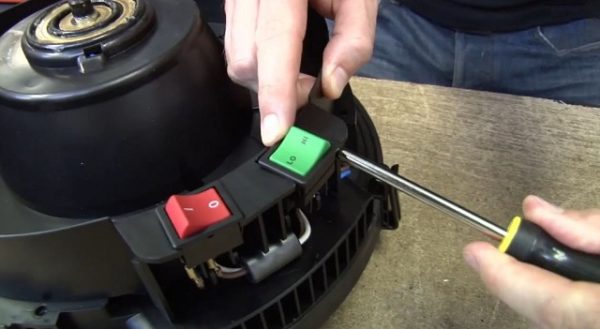
The heart of a vacuum cleaner is a motor, and usually a collector. Regardless of what the cause of the malfunction occurred, whether repair of the vacuum cleaner motor is required, it is necessary to understand the sequence of disassembly of the unit.For this you need to have an idea about vacuum cleaner.
So, in order to repair the Samsung vacuum cleaner with your own hands, you will need to complete the following list of jobs:
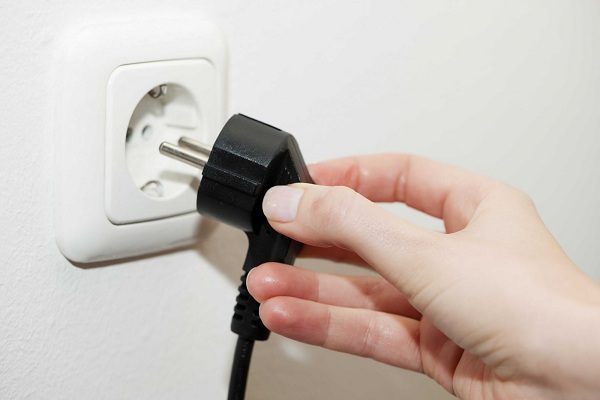
- Disconnect the instrument from the power supply.
- Remove the sealing grid and unscrew the bolts on which the dust compartment cover is attached.
- Disconnect the control unit and the lid of the dust collector (the dust collector is either unscrewed or simply removed).
- In order to get to the motor of the vacuum cleaner, a garbage collection system is located under the dust collector, under which the housing is connected to the engine, it is necessary to unscrew the countersunk screw, or by making non-complicated manipulations to separate the device housing from the base.
- Since the engine is protected by a special gasket that is fixed at the inlet of the receiving hose, it will need to be removed and cleaned, or replaced with a new one.
- Disconnected from the motor wires are the power supplies, which are bolted to it with screw clips.
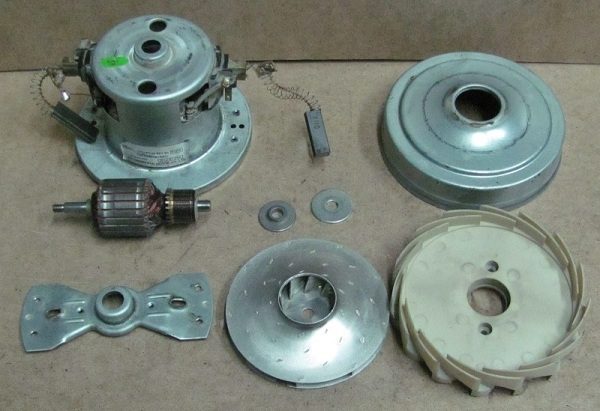
When the engine is “on hand” outside the device, it will first need to be checked for the integrity of the bearing pairs (upper and lower). When detecting cracks or irregularities, bearings are recommended to be replaced with new ones.In addition, attention should be paid to the serviceability of the armature of the engine and the integrity of the brushes.
Disassembly of the electric motor at home requires a certain skill of work in a similar repair. If it is not there, then it would be more correct to ask for help at the warranty service center.
After the installation is disconnected from the electrical wire, you will need to disconnect the motor from the bed. Then the engine will need to be removed from the casing by unscrewing the bolts with a screwdriver, a ruler or a bar and lightly tapping the hammer on the casing, because it is very easy to damage its integrity. Further the fan (impeller) which keeps on the built-in nuts is disconnected from the motor. Sometimes the nuts are additionally fixed on the engine with glue, therefore at this stage it is desirable to have a solvent in stock. Under the fan are usually 4 screws, which alternately unscrew, and thereby get free access to the motor.
If any violations or breakdowns are detected, the coupling clutches or gear teeth breakage, as well as the winding offset, the malfunctions are eliminated and the defective parts are replaced with new ones. Assembly of the vacuum cleaner engine is performed in the reverse order.
Vacuum cleaner repair
To repair the vacuum cleaner hose with your own hands, if depressurization occurred, it is not difficult. So do not rush to immediately get rid of the equipment and try to fix the damage yourself, or use the services of a service or a specialist.
So, if an independent repair of the vacuum cleaner hose is planned, then it will require:
- In the place of the gap to wind the insulating tape or tape - the most short-lived option.
- Trim the damaged part, making the hose a little shorter - the most optimal course of action for such a breakdown.
- Cut into pieces of 6-7cm, using wire cutters made of copper wire, depending on the size of the gap, and insert them into the holes made on the hose at the point of breakage. Since the vacuum cleaner hose, in its essence, is a spiral of steel wire with a PVC cover or cloth worn on top, the small wire hooks threaded from the wire are aligned and tightened in turns so as not to damage the insulation. Next, pliers remove excess wire, and sharp edges are processed with a file. In conclusion, the seam is wrapped with tape over the top.
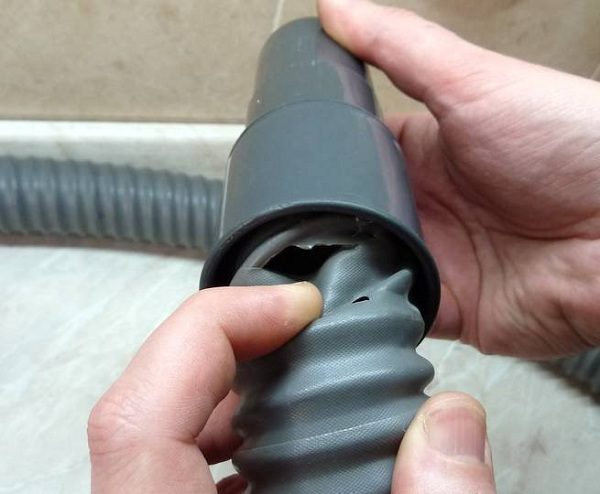
Latka, imposed on the damaged hose of a vacuum cleaner from a wire and an insulating tape, will give the chance to operate the device much further and more fully.
Among other things, for optimal operation of the vacuum cleaner should be periodically clean the filter and keep it in a dry place. It is not recommended to moisten and wash the filter, since in this case, the throughput of the device will decrease, which can lead to overheating. A vacuum cleaner, like any other appliance, requires constant care. It is strongly recommended to change lubrication of motor bearings at least once every two years and annually check the condition of the graphite brushes of the motor. Compliance with the basic rules of electrical appliances will help them to serve for much longer and make your life more pleasant in terms of the comfort of living in a modern, truly functional home.

/rating_off.png)


