Disassembling a vacuum cleaner engine do it yourself
Any wizard ever came across a situation when, when he got to the vacuum cleaner motor, he could not figure out how to disassemble it. And the thing is that the only visible nut that holds the entire assembly as a whole, not only fits tightly on a very resistant sealant, but also rotates with the engine rotor!
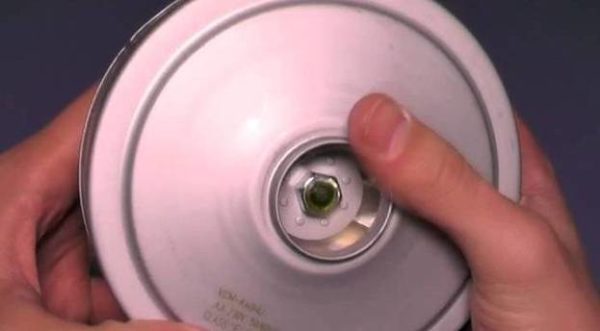
In no case, do not try to lock the rotor or the armature of the electric motor from rolling with a screwdriver or other metal object to loosen the nut. You can damage the motor winding, which you can’t repair by yourself.
Each master has his own “firm” method of unscrewing it safely. We consider here the simplest of them, which requires a minimum of tools from the home collection "for all occasions."
Tools and consumables
- Set of screwdrivers;
- Pliers;
- Wrench face or rozhkovy on 12 mm;
- Locksmith vice;
- Hacksaw;
- Round file;
- Two wooden blocks (~ 1cm x 4cm).
Although the design of vacuum cleaner engines from different manufacturers is about the same, some of their details may differ. dimensions. Therefore, select the right tool for the situation.
Disassembly procedure
First, you need to prepare the engine to loosen the ill-fated nut, for which you need to unscrew its brushes from behind and remove the casing covering the impeller of the electric motor in front.
Sometimes the casing just sits tightly on the engine case and to remove it, you need to bend the edges of the edge slightly around the entire circumference with pliers, and then pick it up with a screwdriver and squeeze.
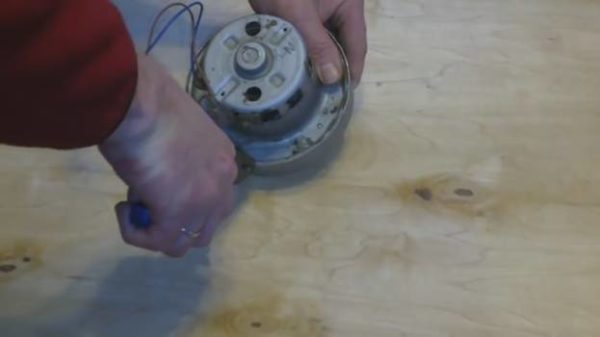
To unscrew the nut, we need something lock the rotor, but it must be done so as not to damage the winding and the armature of the electric motor, located in the rear. To do this, we need to somehow tightly hold it through the holes on the sides of the engine housing, into which the brushes were inserted.
This can be done with small wooden bricksthat can be inserted into the side holes of the engine brushes, and then firmly press to the anchor with some suitable tool - metal vice, eg.
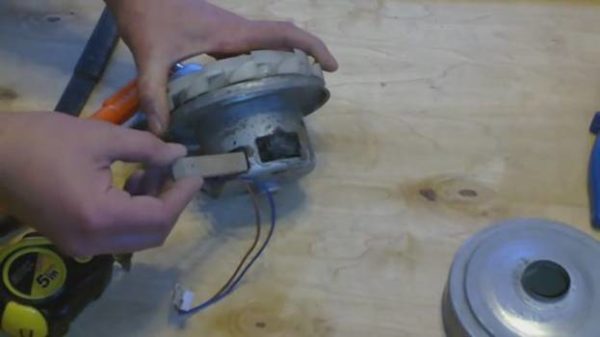
To do this, we can use bars, about 4 cm long and about 1 cm wide. Their dimensions are customized so that they crawl into the holes, abut the anchor and at the same time their ends protrude outside with a small margin - so that they can hold in a vice. And so that they tightly squeezed the rotor and did not jump off it during compression, their ends need to be cut a little round file.
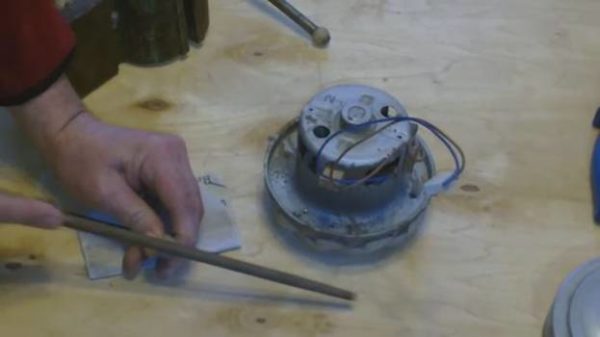
Then we insert the prepared bars into the holes of the electric motor with the sawed ends inwards and firmly press them to the anchor with a metal vice to fix it from rolling when unscrewing the nut from the other end of the rotor.
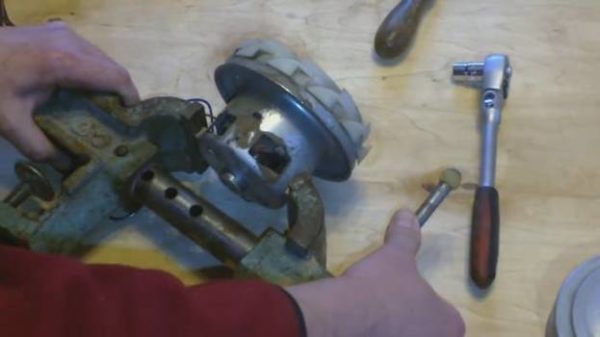
Now that the rotor of the engine is locked, we can take wrench or a key with a suitable end cap and easily unscrew the “problem” nut that caused us so much extra trouble.
If the nut rests and does not want to succumb, it must be heated to melt the sealant holding it to the thread.This should be done by “spot” heating with a small torch in order not to damage the plastic of the impeller.
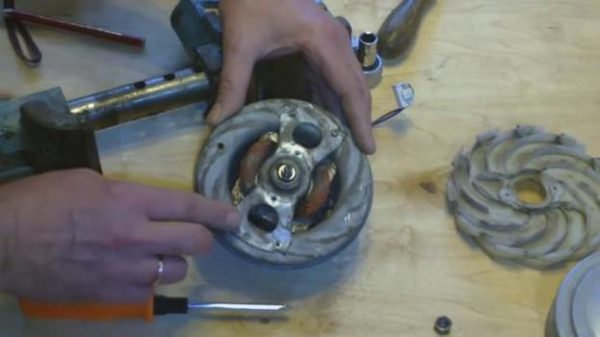
After that, all other parts of the engine can be easily removed using conventional screwdrivers. And we can see what the fault is or what causes suspicious noise while the motor is running.
Possible faults
- Impeller offset.
- Loose or loose mounting screws.
- Worn rotor bearings.
- Worn electrical brushes.
- Damage to the motor winding.
- Heavy pollution.
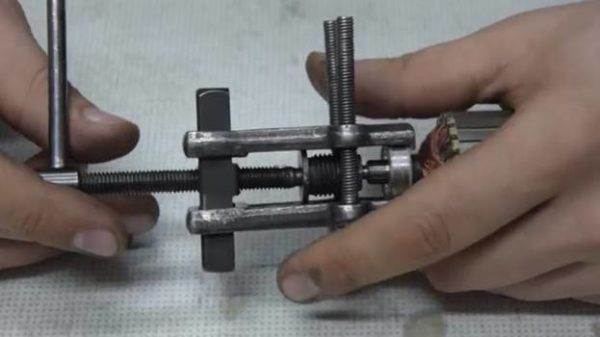
Almost all of these problems can be fixed. at home, in the presence of ingenuity and the necessary replacement parts. Difficulties you can have only when replacing worn bearings, as this requires a special puller. And while it is necessary to try not to damage the motor shaft in the end part with a thread.
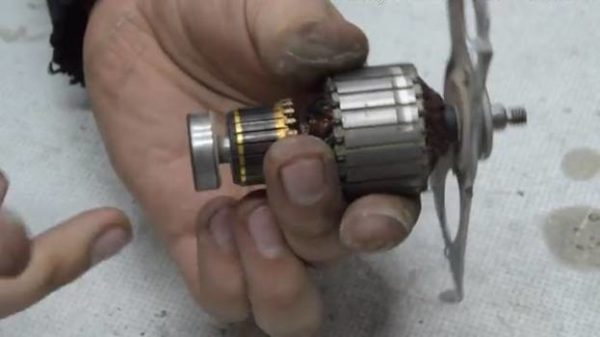
Well, if the winding of the electric motor or its anchor is damaged, then here we are generally powerless to do anything, except to just replace it entirely with a similar one from another vacuum cleaner.
Conclusion
The method of disassembling a vacuum cleaner engine described above is far from the only one.Each master comes up with his own, depending on whether he has any tools at hand at the moment. The main thing is not to panic and try to solve the problem without finally spoiling the engine.
Having learned to disassemble and repair the vacuum cleaner, you will be able to easily assemble it with your own hands from scrap materials.

/rating_off.png)


