How to organize work on a plotter
Large-format printing is firmly in our life. It is hard to imagine an enterprise that has never resorted to the services of printing plotter production. Posters, banners, huge signs, large stickers - all this and much more is printed on special machines that require careful and thoughtful use. Such devices are called plotters, or cutter-plotters (devices operating on the 2 in 1 principle, printing and simultaneous cutting). Let us try to understand the intricacies of the operation of this technique, consider some examples and shed light on the nuances that need to be considered before starting to work with a plotter.
Content
What is a plotter
These devices were invented in order to print and cut adhesive widescreen products. But the truly massive plotters helped to become thermal transfer film. When consumables became affordable and reliable in quality, the popularity of plotters increased dramatically. Looking at any inscription or image applied to textiles, one can be sure that it was made using a plotter. However, like almost any inscription on the film.
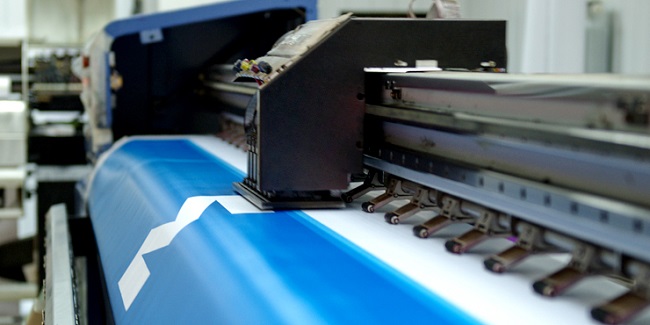
Cutting (cardboard or paper) is also carried out by a plotter. According to the most common classification, such plotters are usually divided into the following variants.
- Flat. The material is placed on a large horizontal surface that is completely flat. The image is cut using a movable carriage with a knife fixed in it.
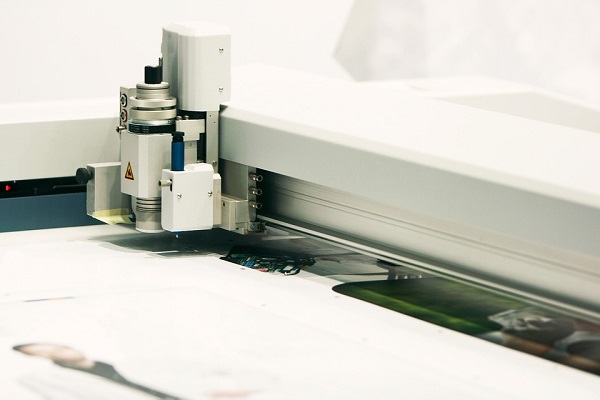
- Rolled. The supply of material is carried out by unwinding the roll, and cutting along the marks is due to the movement of the carriage in only one position (right and left). This type of devices can not boast of high image accuracy.
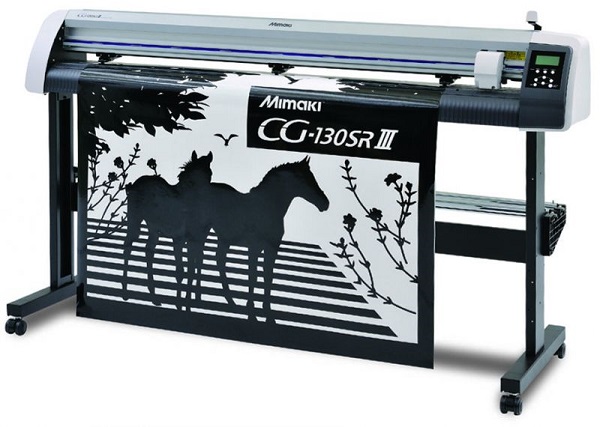
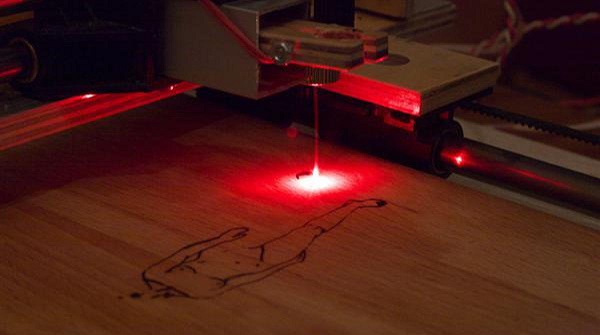
- Laser. At first glance, an ordinary flat plotter can remind quite a bit.The difference is that instead of a knife, a laser head is cut.
Software to work
The plotter works according to a predetermined algorithm. First you need to connect to a personal computer. The image to be printed is sent to the device, after which the cutting process takes place. The speed of work is highly dependent on the technology used by one or another model. In the future, the resulting material is applied to a metal or textile surface, depending on the need.
On the plotter there is software that implements the process. Of course, a corresponding program must also be installed on a personal computer, without which it is impossible to send a drawing for cutting. The easiest way to do this is from Korela - Coreldrawsoftware for plotter printing.

If the contour cutting is carried out incorrectly, or the cut has shifted over the printed, you must configure the software.
In addition to CorelDraw, you can use the program Plotcalc. It has a fairly simple interface, it is easy to work in it, besides, it does not take much time to learn.Another well-known plotter program is Signcut. The full version is paid, but from the official site you can download a trial test version, which has some limitations. In general, the program menu turned out to be somewhat overloaded, but the functionality is impressive. With this utility, you can control the depth of cut of the knife, provided that this option is supported by the model itself.
Slightly less known program eCut. The main advantage of this software is that it allows you to cut files directly from CorelDraw. Files are written directly to the plotter port, bypassing the participation of drivers, therefore, the occurrence of errors and incompatibility is minimized.
The following software to display information on a plotter is called OMEGA CUT. Omega is used mainly for working with project documentation and is popular with those who work with plotters in this field. The functionality is limited to the scope, perhaps the program can be described as medium.
The principle of the plotter, in addition to printing, also implies cutting. Of course, not all software is written with this function in mind.Simply put, not all plotter programs are suitable for a cutter-cutter and vice versa. For devices that operate on the 2 in 1 principle, the most often supplied is “native” software, developed and implemented by the manufacturer of the equipment. However, there is always the option to use third-party software, if the capabilities of the pre-installed software will no longer meet the requirements.
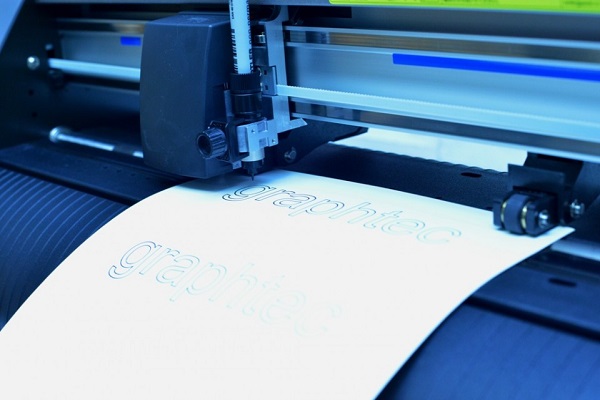
If you just need to cut out the pictures, then for this there is no need to purchase a program, the license for which is measured in hundreds of thousands of rubles. Enough limited to more affordable counterparts. Also, if the job involves only printing, then you can limit yourself to the capabilities of the embedded software, without investing a penny in the purchase of software. Of course, if in the course of work you have to resort to the services of a vector graphics editor, as well as to print complex patterns, then you should consider expanding the functionality of the software for the plotter.
Printing algorithm on plotter
The printing algorithm on a plotter (by the example of Korela) is as follows.
- You need to find and open the "file" in the window that appears to find page layout options and choose one of them: fast printing (using standard patterns), parameters of the previous setting, or resorting to the current setting of the upcoming print.
- If the drawing implies page layout, you can adjust this parameter in the appropriate menu. The page layout includes several sub-items at once, in which many different values are controlled. Most of them have cue markerswhich clarify which of the parameters will be changed. After completion of all manipulations, you can use the preview, and, if desired, cancel the changes.
- Next, you need to proceed to print (or output to the plotter) and in the column "name" choose the model of the plotter on which the printout will be carried out. In the properties you can set the plotter driver settings.
- In the “paper size” section you only need to use standardized dimensionsto eliminate confusion. It is best to stick with the format supported by the model. To find out which formats the model works with, you need to look into its performance characteristics.
- In the “print scale” column, you should indicate “by paper size” or set it to the required size. The thickness of the lines should also be scaled in strict accordance with the scale of printing.
- The “print range” column allows you to choose from the following items: “all geometry”, “drawing borders”, “named view” or make changes to all these parameters yourself.
- After that, you need to set the required number of copies of the seal.
- To send information not to a printer, but to a saved file, you can click on the “print to file” element.
- After all the manipulations, the program will offer preview planned printouts. If the user wants to print the document in its existing form, it will be enough for him to click "ok", after which the file will be immediately sent to the plotter or queued for printing if the device is unavailable right now for some reason.
There are several short commands and hotkeys that can be used to make printing much easier. Entering the "print" command in the command line, the user will start the printing process.And for quick access to printing, just press the menu in the open program explorer, point the cursor at the “file” element and press “print”, then “quick print” (or hot key Ctrl + P).
Cutting various materials
Of course, for the implementation of this function requires a cutting plotter, or plotter-cutter. The quality of cutting depends on a number of criteria.
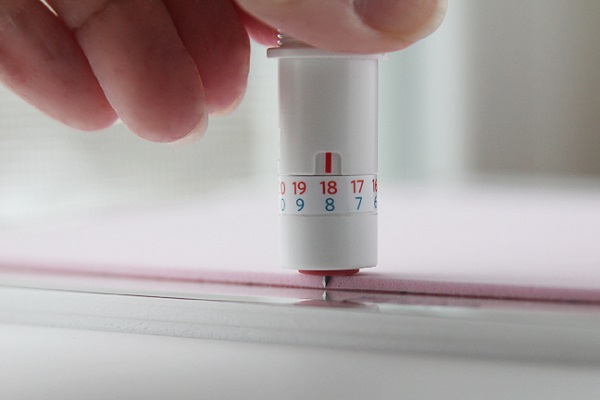
- Blade sharpness. The newer the knife, the sharper it will be. Of course, for simple tasks, such as cutting paper, not the newest knife is suitable, but for jewelry work, where much depends on accuracy, the blade should be as sharp as possible.
- Source qualityi.e. how difficult and true is the drawing itself. Sometimes it takes most of the time to finalize a file than to print and design. After all, if even one indicator does not converge somewhere, the structure of the figure will be broken.
- The mat should be sticky enoughto fix a consumable well (cloth, vinyl, etc.).
- Customization for a specific material. Usually all the available settings can be viewed in the properties of the device itself. It is best to set them manually, because the technique cannot recognize the material on its own.
In order to try out a new material in the business, you must always have on hand some kind of drawing. Test samples offered by the manufacturer do not always reflect the real picture, because imply cutting circles and squares, in which there is nothing complicated.
Without preliminary testing it is highly not recommended to perform a full pattern - the probability of incorrectly displayed material is high.
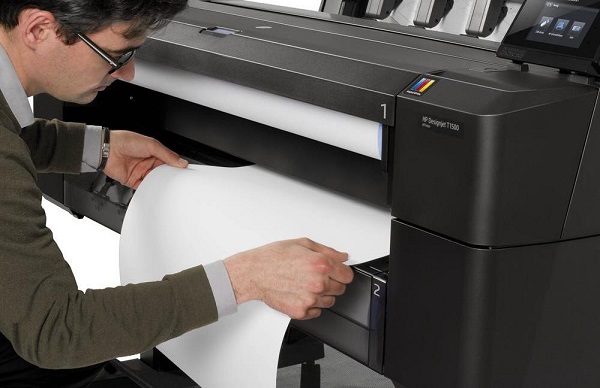
Another important factor in case it means cutting several materials at once. Under each material, you must have a separate knife: the blades for paper and fabric are quite different. Some experts label blades in order not to confuse them. For example, "T" - fabric, "K" - cardboard, etc.
If not only printing of patterns is planned, then it will be necessary to work with pressure and blade overhangby exposing the required in the system settings. The difference in the work on the fabric only in the principle of further use: cutting under the tailoring or execution of the application. For cutting on cardboard, the height at which the blade will rise is important. Since the material itself is easy to “play”, it is necessary to traceso that when cutting the cardboard was well fixed in one position to eliminate distortion.

Film
Oracal film requires special accuracy when preparing to cutting. Since the vinyl base can easily be deformed, jewelry precision is required at the time of fixation. The larger the image (picture, logo, etc.), the more cautious the layout designer should act. During the work with this material it is necessary to consider that cutting will be only intermediate process. Vinyl film, before you get a finished look, goes through several stages of processing. If you compare it with other materials, such as cloth, you can note a certain complexity during operation.
Paper
When working with ordinary wide-format paper, it is enough just to follow the sharpness of the blades and change them on time. Paper is very unpretentious in terms of cutting. Its drawbacks may occur during chemical and thermal reactions, but during the cutting of the pattern itself, the probability of a defect is not so high.
Considering all the above aspects, cutting various materials with a plotter cutter will not be difficult.Of course, without a certain experience there will always remain the risk of spoiling a batch of blanks. That is why experts recommend trying cutting first on small test materials. To start the main cutting of any of the above materials is only when there is confidence that the original file with the picture is correctly built and all its parts are calculated and converge. It is also important to pay attention to the technical condition of the device, put the blades under the material and check their sharpness.
Conclusion
Work on a plotter is easy, you need only a little skill and care. All aspects of work have their own step-by-step algorithm, from selecting and installing a program for working with files to servicing individual elements of the device. Even if something does not work the first time, do not despair and give up. Having shown patience, any of the stages of work with a plotter will be successfully learned. It should be noted that the use of large format printing technology in the majority is not much different from the operation of printers or any multifunction devices. Certain specific nuances, of course, are present, but if you wish, all these points can be studied and learned to work with them.

/rating_on.png)


