Semi-automatic shooting modes P A S M
Most novice photographers use automatic mode when shooting. It does not require special knowledge of photography and any additional settings. For those who are interested in obtaining higher-quality or unusual images, camera modes have been created that will require the intervention of the owner.
Content
What are the modes
The shooting modes in the camera are not limited to automatic programs. There are four semi-automatic modes that open a large number of settings for the photographer. This allows you to change the exposure time and the size of the aperture. Each of them has its own purpose, but in general it can be noted that they are intended make the right exposure, more original photo, to correct those flaws that the automatics cannot eliminate.
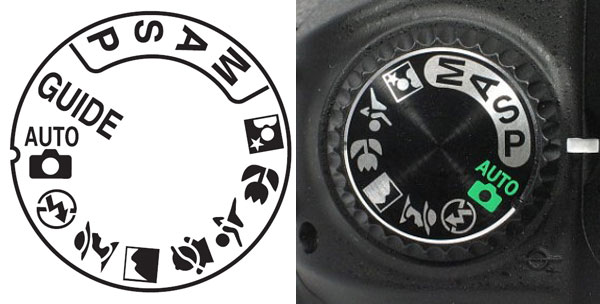
All semi-automatic modes can be enabled. wheel switching. They are called P, S, A, M and are usually separated by a trait from other functions:
- P - “Programmed”, program shooting, which is generally similar to automatic, but has more advanced features;
- A (Av) - “Aperture Priority”, aperture priority;
- S (Tv) - Shutter Priority, shutter priority;
- “M” - “Manual”, manual shooting.
Program shooting
Mode “P” is a flexible software mode that differs from automatic only in that it allows the user to change the shutter speed in fairly limited values. Setting its parameters is carried out by the control wheel, while the camera independently adjusts the aperture value for the selected exposure time.

The advantage of this shooting is that the camera gives the user a bit of room for creativity, but at the same time, she corrects many errors. There is also a minus here - professional photographers note that with each new choice of exposure the camera resets the previous parameters and they need to be adjusted again.
This function is suitable for most types of shooting, but is most often used when switching from automatic to semi-automatic modes. With it, you can learn to understand the laws of photography, and develop skills to use them.
Aperture Priority
Function A or Av (depending on the brand) allows work with diaphragm. The user sets the desired aperture value to change the depth of field. After that, the camera changes the exposure time. At first glance, it seems that the mode is not very different from the previous one, but there is one nuance here. The priority of the aperture allows the user to change its size, but does not affect the exposure time. Due to the fact that the step of changing the shutter speed is very small, the camera can choose the ideal option for any aperture size. In the previous mode, with different shutter speeds, the aperture may not change at all, since its pitch is not so flexible.
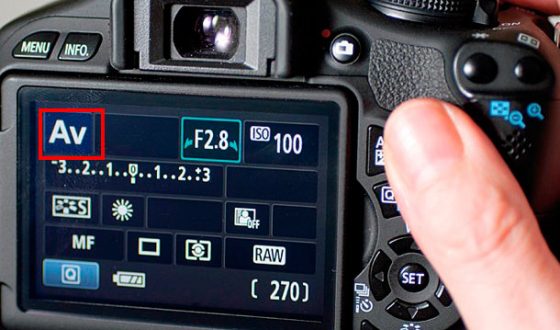
You can use the aperture priority for any shooting. It is useful in allowing control aberrations and vignetting (artifacts in the photo, arising due to errors in the refraction of light on the lenses).Among other things, the diaphragm opens up a large scope for experiments with depth of field. The mode is irreplaceable at portrait shooting and for those people who like to experiment with the image.
Shutter speed priority
Shutter priority is indicated on the mode dial with the letter S or Tv. It has an analogy with the two previous ones, only in this case the exposure time is set. The difference from the program mode is that at the priority of the shutter, the user has more of its values available. The disadvantage is that the camera, due to the limited step of the diaphragm, cannot always set a suitable option. In this case, the display shows High or Low.
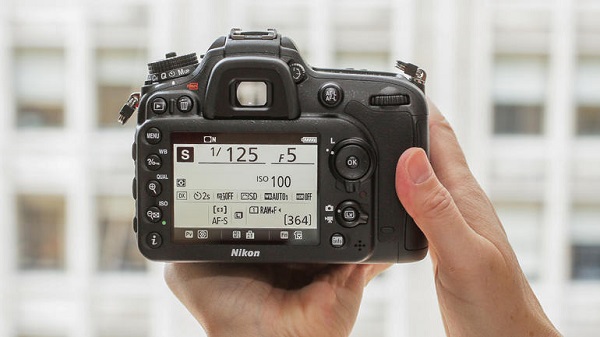
This feature is useful for handheld shooting as well as for effect of stopped motion. Perfect for shooting sports events or objects that move quickly. In this case, you need to set a short exposure. The most convenient way is to use shutter priority with automatic sensitivity adjustment.
Manual mode
Manual or manual mode allows the user to self select value for shutter speed and aperture. M mode on the camera can also be automated a little, but professionals prefer to set all the settings themselves.
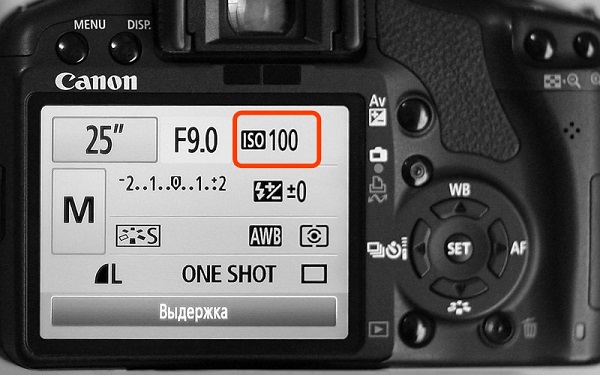
It is applied in difficult shootingwhen the camera cannot select the parameters in other modes to get the right exposure. When working in manual mode, the exposure scale helps, which can be seen in the viewfinder. The manual way of shooting is the most creative.
Zebra function
Most novice photographers have never heard of the zebra function, but at the same time it is very useful and helps in the initial stages of learning photography.
Zebra is a function in which the camera marks overexposed areas with black and white stripes. By enabling this function in the settings, the user can see on the screen those fragments of the frame that in the photo they turn out to be too light or dark, and adjust the aperture value so that they disappear.
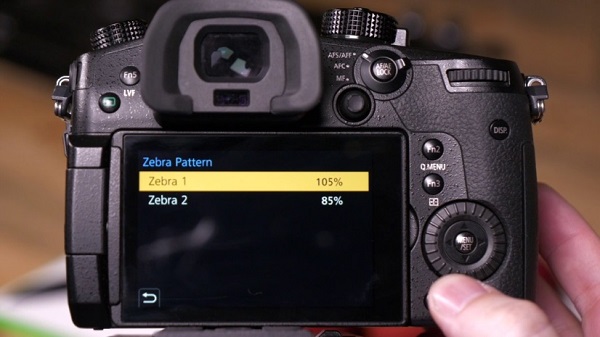
If we digress a little from the theme of photos, it is obvious that the human eye is a more perfect device than the camera. Accordingly, without using this function, the user sees a real picture, but the camera perceives it differently. And where the eye sees a normal image, the camera can see overexposure or darkening, respectively, the picture will not be the most successful. The zebra function highlights users of such places and helps to fix them.
The zebra came into the photo from the video and now it is very rare, mainly in non-SLR cameras.
Conclusion
Regardless of the brand of camera manufacturer, the modes listed above have the same principle of operation. At Canon, they were named P, Av, Tv, M, they have Nikon P, A, S, M. The name does not change anything, and this is only the desire of competing brands to differ from each other. Semi-automatic modes need to know and be able to use any photographer, if he wants to go beyond the standard and boring photos. The ability to apply various settings in semi-automatic modes allows you to take photos in difficult exposure conditions and where the automation can not cope.

/rating_off.png)


