Homemade projector screen
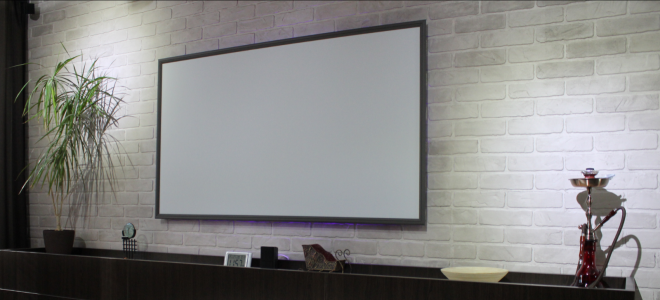
To view a high-quality image from a projector, a special design is needed - an ordinary white wall does not always satisfy your needs. It is quite possible to make a screen for a projector with your own hands, and your home-made screen will not differ in any way from its counterpart from the store. Consider what materials are needed for the manufacture of this design.
Content
Choosing the material and format
The canvas must comply with the implementation of the main tasks:
- reliably and with high quality to reproduce all the information;
- distribute the light towards the audience at the right angle so that there is no distortion.
As a rule, for the screen use thick, opaque white fabric. This may be a piece of awning or material of a stretch ceiling, sheet type vinyl, also suitable for raincoat fabric.In addition, even ordinary sheets made of durable canvas, without scuffs, are suitable for self-manufacturing of a projection screen or so-called homemade displays for the projector.
Image format - also one of the main factors that determines the choice of design. There are such options:
- standard — 1: 1;
- video format - 4: 3;
- wide - 16:10;
- HD for TV - 16: 9;
- for the film industry - 2.35: 1.
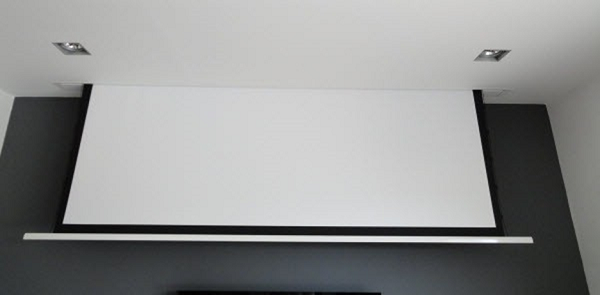
The screen for the projector with an electric drive to make yourself quite difficult because of purely technical problems. Only the window regulator will cost you 1.5 thousand rubles, not to mention other related details. The material for making the box is not cheap, but you still need bearings, banner fabric.
Correct size calculation
To properly build a screen for the projector with your own hands, you must consider the location of the projector and the viewing angle of the audience. Screen is located in front of the seats, and not in front of the projector, is the basic rule that guarantees the success of the planned event.
The height of the canvas should be about 1/6 of the distance from it to the last row of spectators, only if this condition is met, the information will be perfectly readable. The first row should be no closer than two screen heights: for example, height = 1.5 m, which means that the first viewers should sit at a distance of 3 m. Experts say that it is from this distance that the perception of the plot or information will be comfortable. The lower edge of the canvas must be at least 1.2 m away from the floor - viewers sitting at the very end of the hall will see all the information without shading.
Tool and materials
To make a screen for the projector do it yourself, you will need:
- selected for the screen fabric of the desired size, for example, we have dimensions - 2.6 x 1.6 m;
- wooden beam, 4 pcs. with dimensions of 2500x40x15 mm;
- aluminum box - 5pcs., 2500х65 mm;
- frames for the frame - 4 pcs .;
- construction stapler;
- thin felt;
- scissors for cutting metal, construction knife;
- white paint and paint roller;
- wood screws;
- emery cloth;
- screwdriver to facilitate the work;
- sheet fiberboard.
Masters of the manufacture of screens claim that such home-made products have specific advantages: low production cost, you can make the surface in strict accordance with the design parameters for this room.
Manufacturing algorithm
To make a screen for the projector yourself will help you detailed instructions.
- Two boxes will be used as guides on the width of the future screen, the other two are cut to 1.5 m - this will be the height. Each box is sheathed on one side with a timber bar.
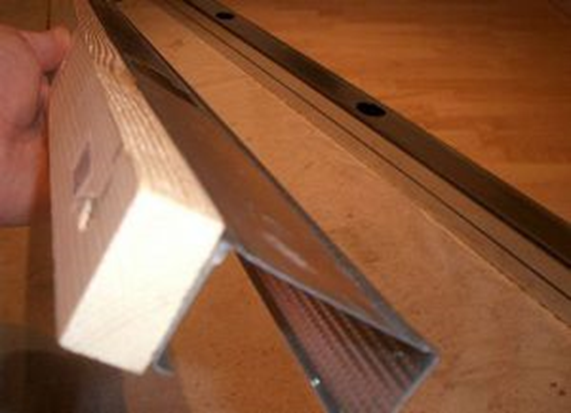
- From each edge of the box we indent by its width, we make cuts with the help of scissors for metal. Then we bend the edges, aligning them with a wooden mallet. We do similar actions with the second one, drill holes in the aluminum box and fasten with screws. We get a solid frame.
- In a similar way, in order to impart greater rigidity to the structure, we fix the remaining fifth box in the center, in which we also make cuts with scissors. We fasten with a wooden bar with self-tapping screws, making small holes along the edges.
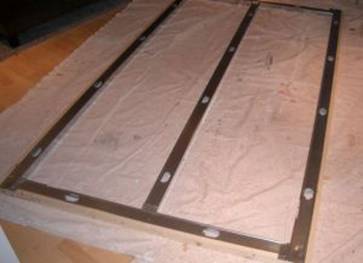
- We trim the entire frame with fiberboard, cut off the excess and make an emery cloth bevel to remove sharp edges that can damage the screen material. It is better to fasten using a stapler using large brackets 10-12 mm.
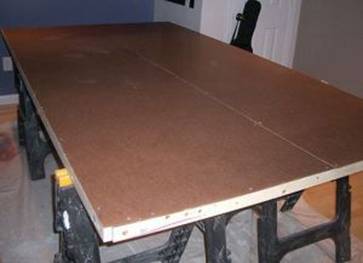
- The lining of thin felt is located on top of the structure - it serves to align possible irregularities due to seams and protruding brackets.
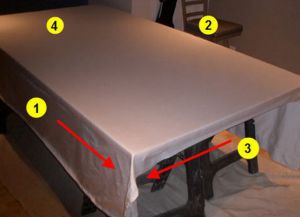
- The prepared screen cover should be uniform, without seams- This is done to improve the image quality. The tension of the canvas is done gradually from opposite sides: we fix side 1 with a stapler, we stretch the material without fanaticism and folds from the opposite side # 2, we make a similar fixation at the ends # 3 and # 4. Cut excess fabric with a knife.
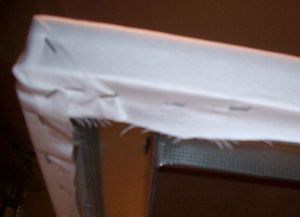
- All the canvas is covered in two layers of white paint, it is best to use a paint roller.
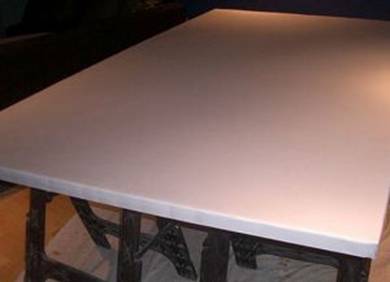
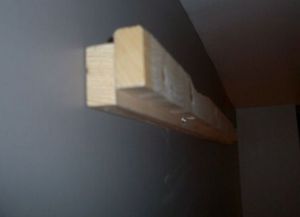
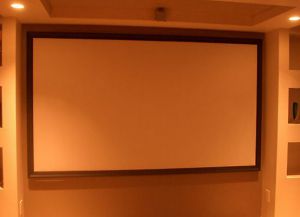
- For high-quality fixing of the manufactured screen on the vertical of the wall, fasten a bar to it, on which it will be convenient to fix the entire structure. Along the perimeter we install a decorative frame, which ennobles the whole design.
Original screen
Many models of modern projectors have excessive brightness, which can create distortions in black color during the demonstration. To eliminate these nuances, do black screen - unusual and very original. Such coverage will reliably absorb the excess of any color, with its help you will successfully reduce the effects of ambient lighting, excessive projector brightness, you will get the deepest black colors that the white screen cannot reproduce.
With self-made screen, you can choose the most acceptable option for you, do not use the usual standards - give freedom to imagination within reasonable limits.

/rating_off.png)


